
Manage quotas
Overview
The “All quotas page” allows users to access a list of quotas. On this page, users can view information about the current quota limits and their usage.
Users can filter the All quotas table by provider, location, and quota name, as well as sort by all displayed columns.
Page description
This page enables users to see all quotas, filtered and sorted.
All quotas table
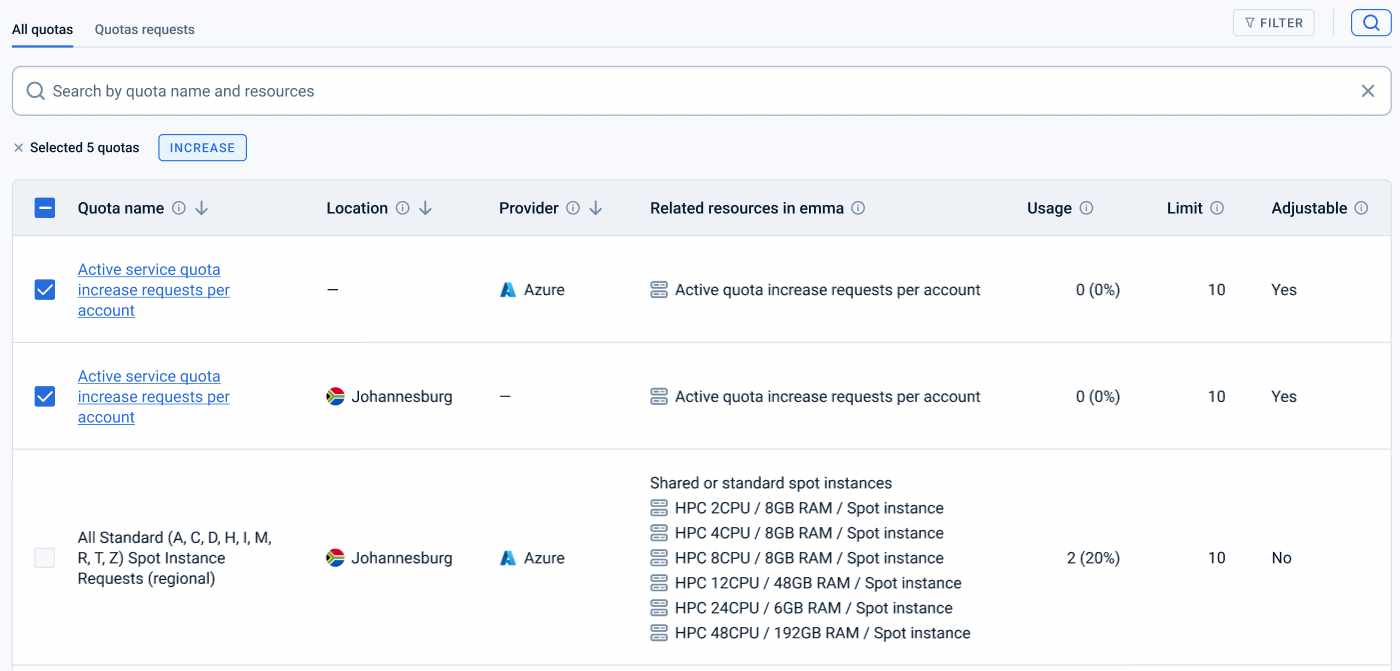
A table with seven columns that displays a list of all quotas:
- Quota Name: The name of the quota as defined by the provider.
- Location: The geographical location where the quota is applied.
- Provider: The provider that set the quota.
- Related resources in emma: Identifies instance types and resources affected by the quota. Note the 'Priority' label: emma may suggest alternative virtual machine types if the primary instance is unavailable due to high demand or other factors. Lower priority instances may also require quota adjustments for seamless resource allocation.
- Usage: The current usage of the quota. Monitor this field to track your consumption and avoid reaching quota limits, ensuring uninterrupted service and efficient resource utilization.
- Limit: The quota limit set by the provider. Use this field to understand the maximum capacity available for your resources and to plan for future needs or adjustments.
- Adjustable: Indicates whether the quota limit can be increased. This field helps you identify which quotas have the flexibility for expansion, allowing you to plan and request adjustments as your resource demands grow.
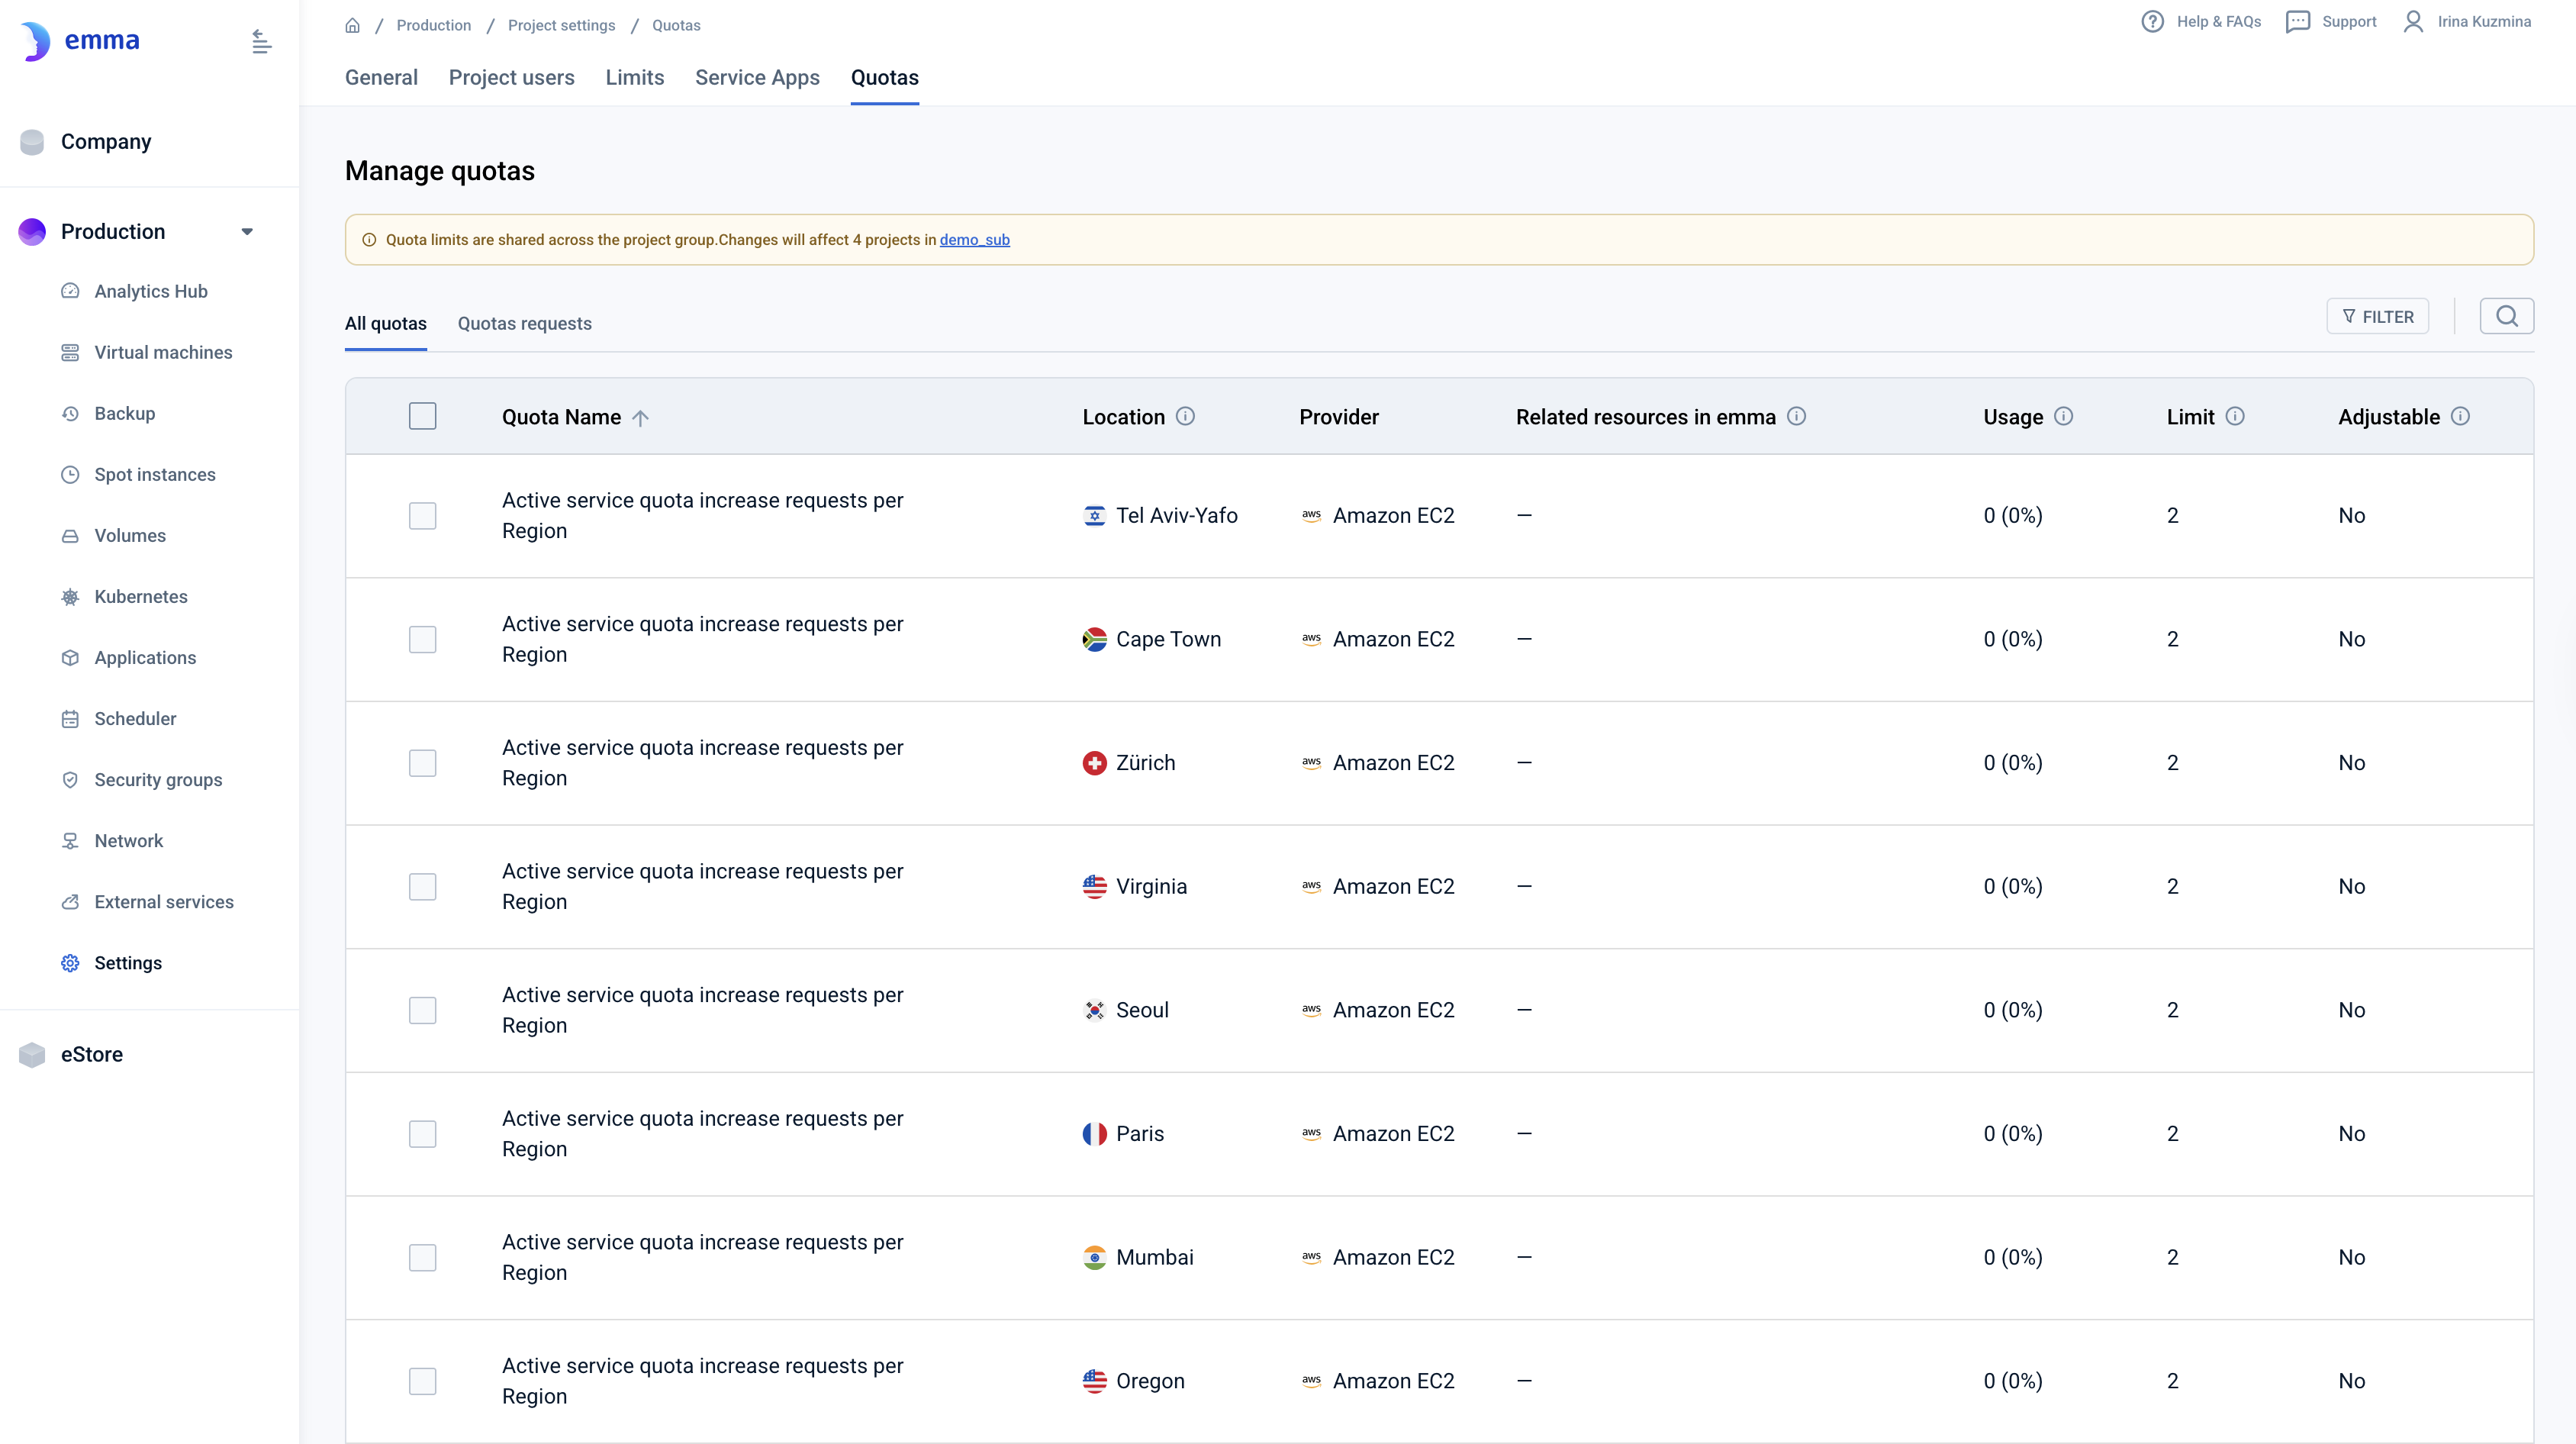
Notice: The tab doesn't save its state. If the you leave the page, filters, sorting, and paging revert to the default settings.
Filter button
The "Filter" button allows users to apply filters to narrow down the list of quotas.

Search bar
The search bar provides a way to search for specific quotas based on their names or related resources in emma

Actions you can perform on this page
Sort table columns
Click on the arrow to the right of the column name to refresh and sort the table in ascending or descending order. By default, the table is sorted by “Quota name” in ascending order.
- Important Notice Changes to Quotas are applied at the Project Group level. Any modification will affect all projects within the group, not just the project where the change is made.
Apply filters to the table
Choose and Apply Filters to the quotas table:
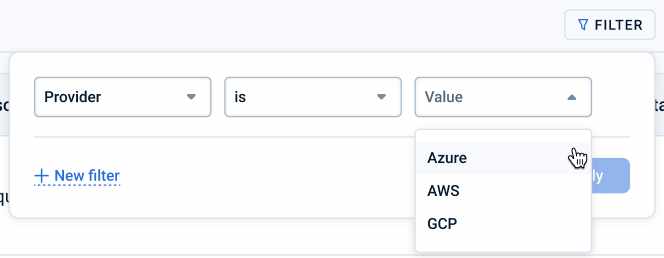
- First, select the parameter by which you want to filter the table. You can filter table by Provider and Location.
- In the field that appears on the right, select the appropriate operator from the dropdown list
- Choose values by which you want to filter table
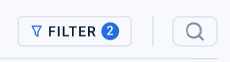
Applied filters appear in the bars above the table

To filter by multiple parameters use one of two ways:
- click the “+ New filter” button during the filters selecting
- click on the button on the right of the existing filter bar
To reset the filter, press the “X” button on the corresponding plate
Search by quota name or related resources
Use the “Search” button to open a bar and quickly search for quotas in the tables
Adjust quota limits
Quotas are categorized as adjustable or non-adjustable based on whether their limits can be increased by the provider. In emma, users can increase the limit for adjustable quotas by creating and submitting a quota increase request to the provider.
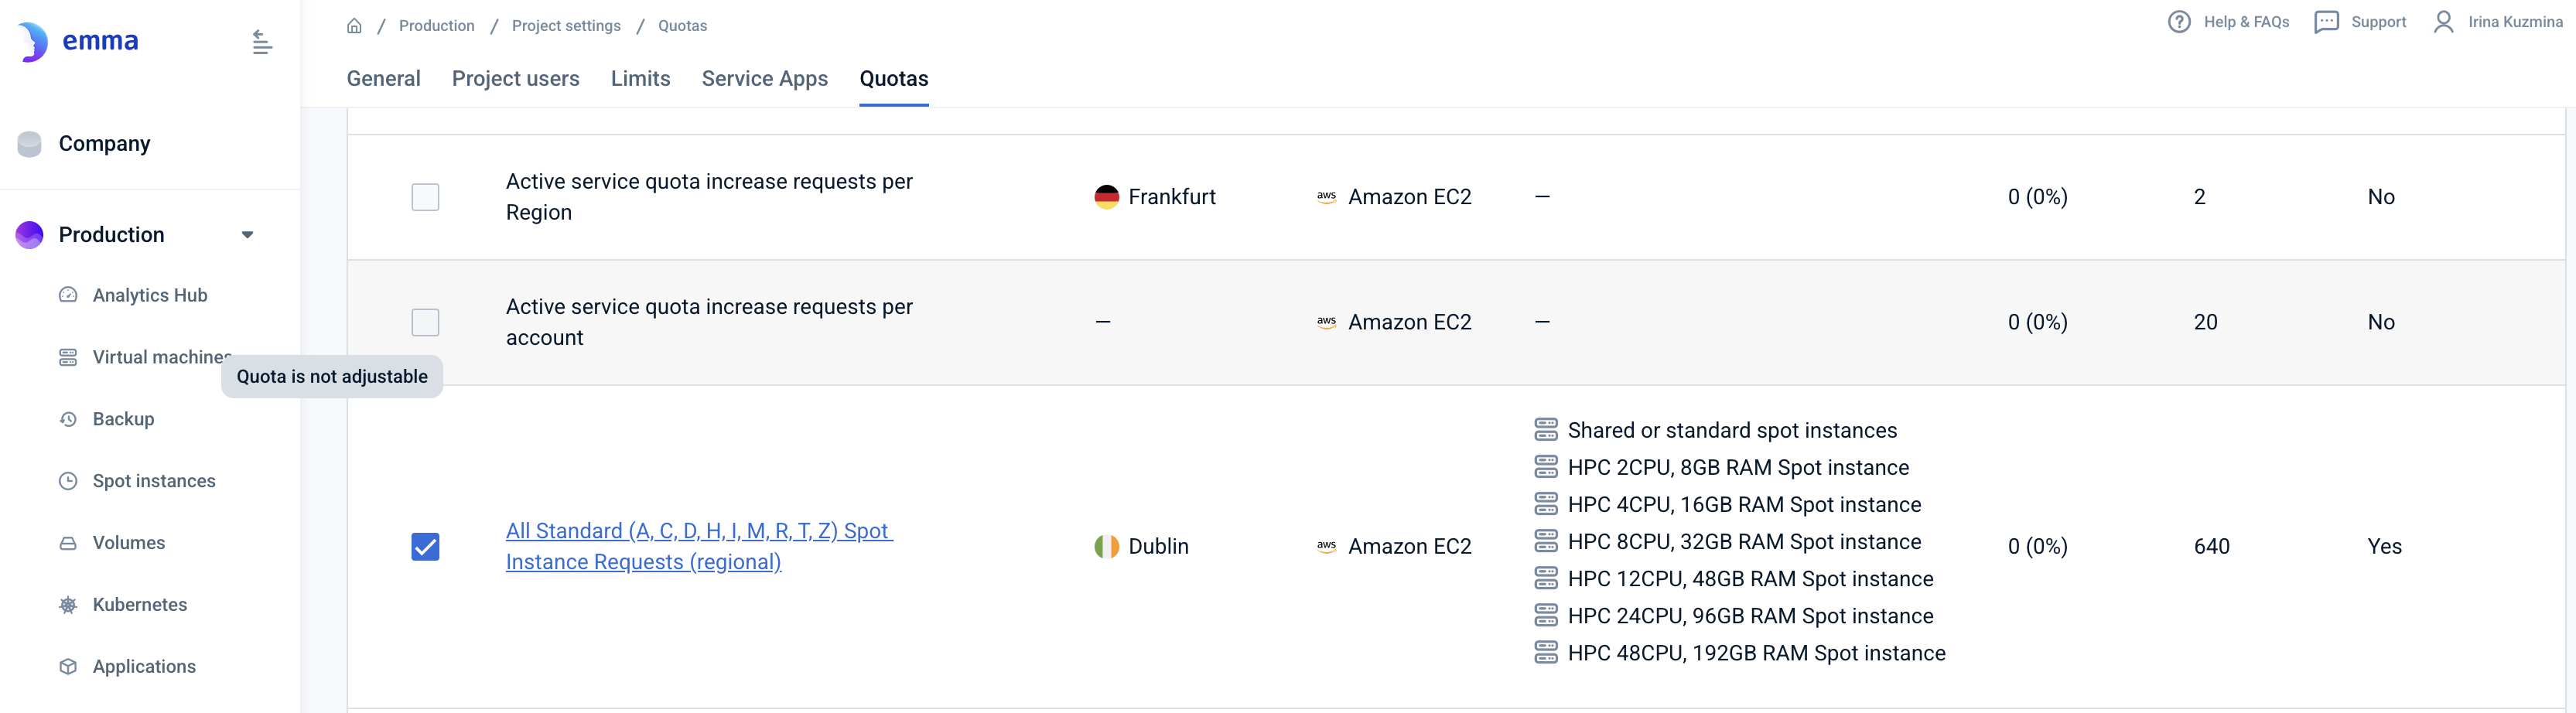
Quotas are applied to a project group, so if a user has multiple projects linked to one project group in emma, the quota limits are shared across all projects within that project group. Any changes to the quota will impact all projects in the project group.
To initiate a request for an adjustable quota, click on the quota name to open a modal window or select multiple quotas using checkboxes and click the "Increase" button.
In the modal window enter the desired new limit for the quotas. Ensure the new limit is greater than the current one.
Click "Submit" to finalize your changes. Once submitted, the modal window will close, and your request will be sent to the provider.
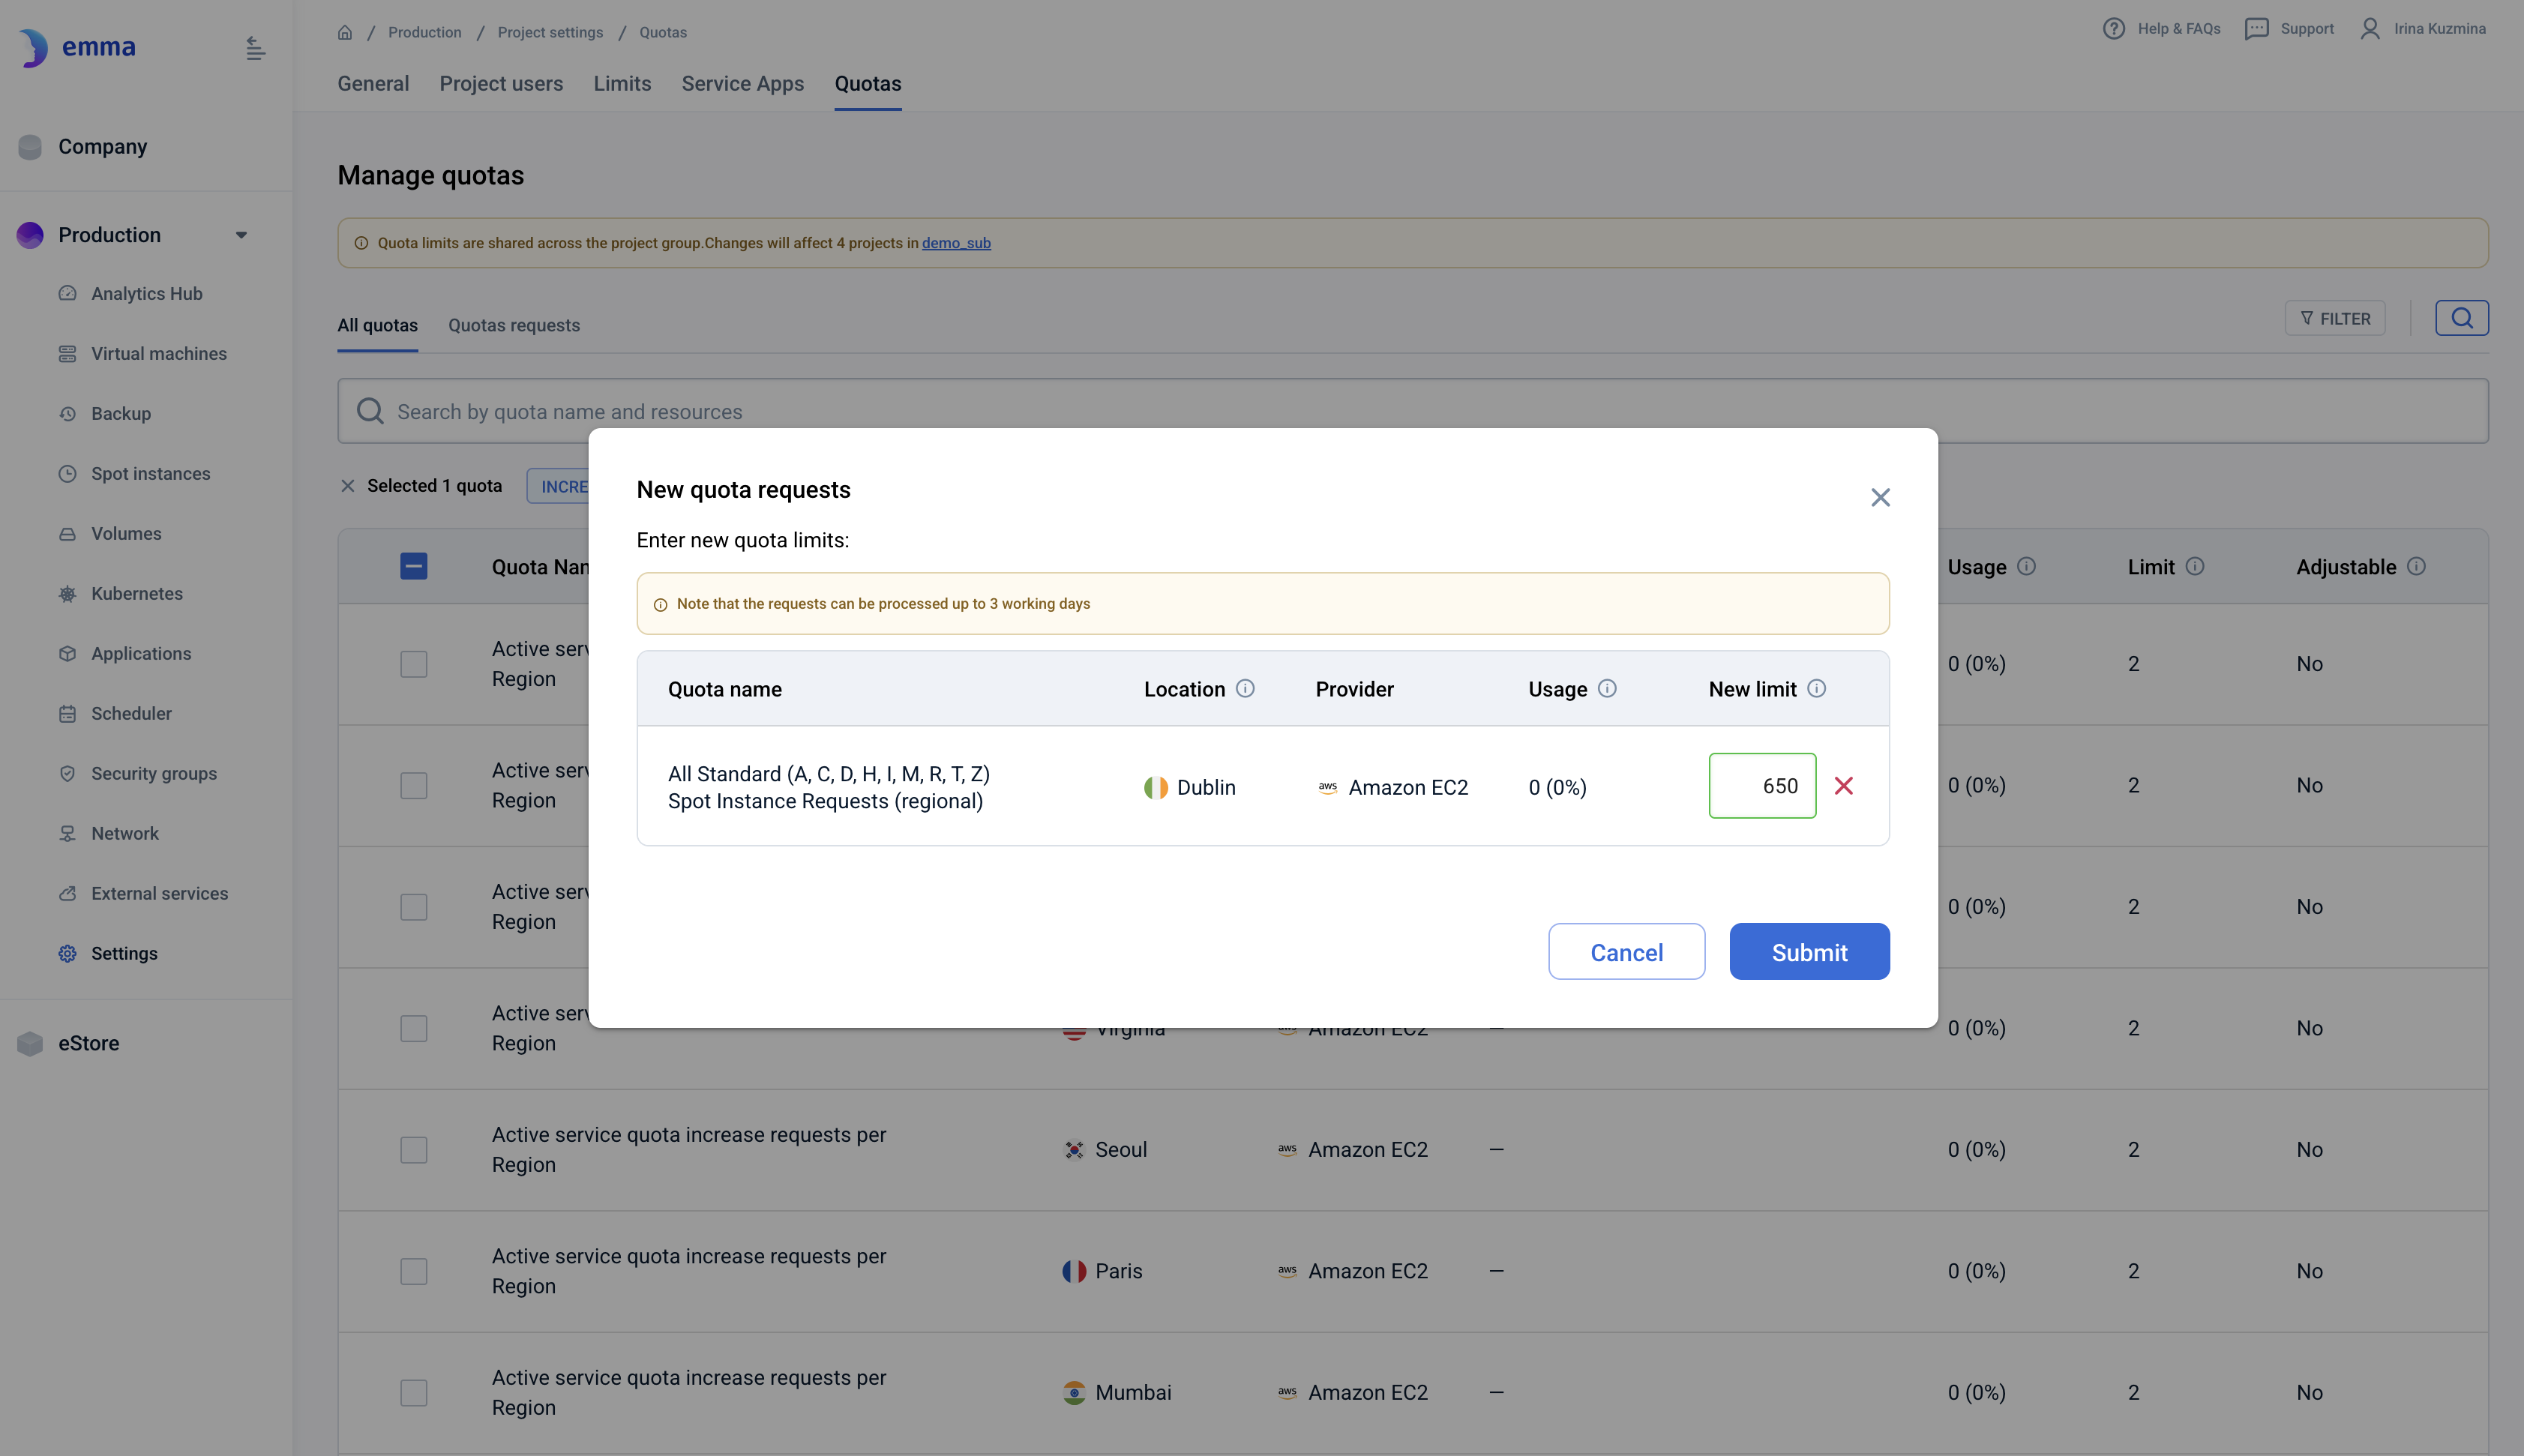
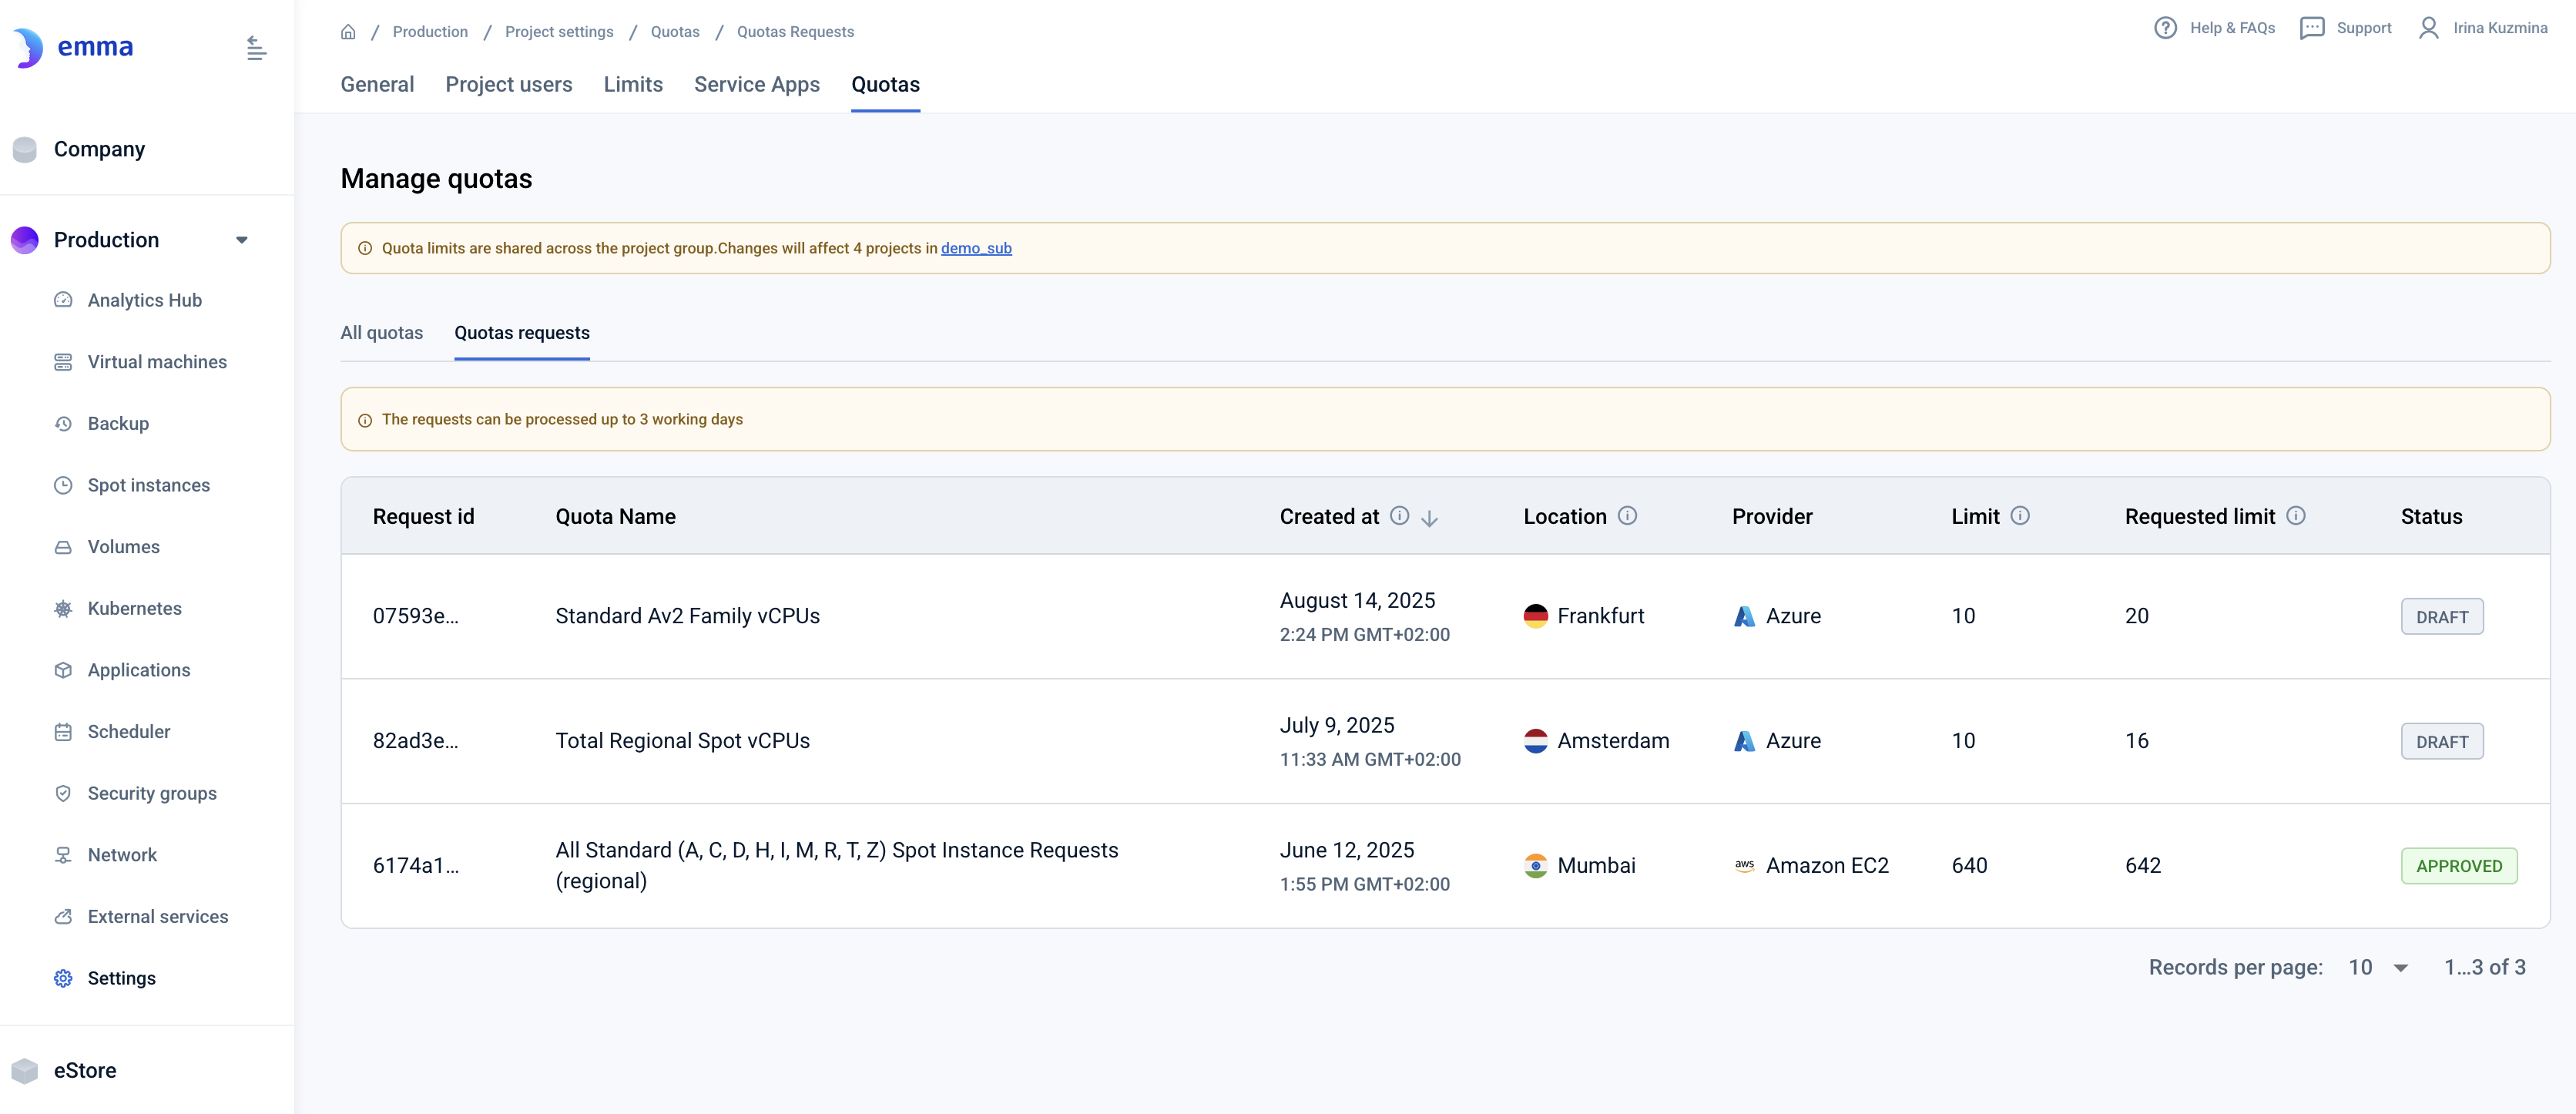
Note that requests may take up to 3 working days to be processed by the provider. You can monitor the status of your request in the "Quota Requests" tab.
Last updated on 1 Aug 2026